- Assets — Serial numbers, categories, and conditions
- Products — Device models and manufacturers
- Employees — Who the asset is assigned to
- Departments — Team or department ownership
- Locations — Where unassigned assets are stored
- Purchase Details — Cost, vendor, and purchase date information
CSV Template
Download and use the following column headers for your CSV file:Example Data
Supported File Types
Maximum file size is 10MB per document. For larger files, consider compressing or splitting them before upload.
Bulk Import Assets
1
Navigate to settings
Navigate to Settings → Import Data.
2
Click on New Import
Click on the New Import button and select Assets Import.
3
Upload your document
Click Upload Document and select the file from your computer. You can also drag and drop files directly into the upload area.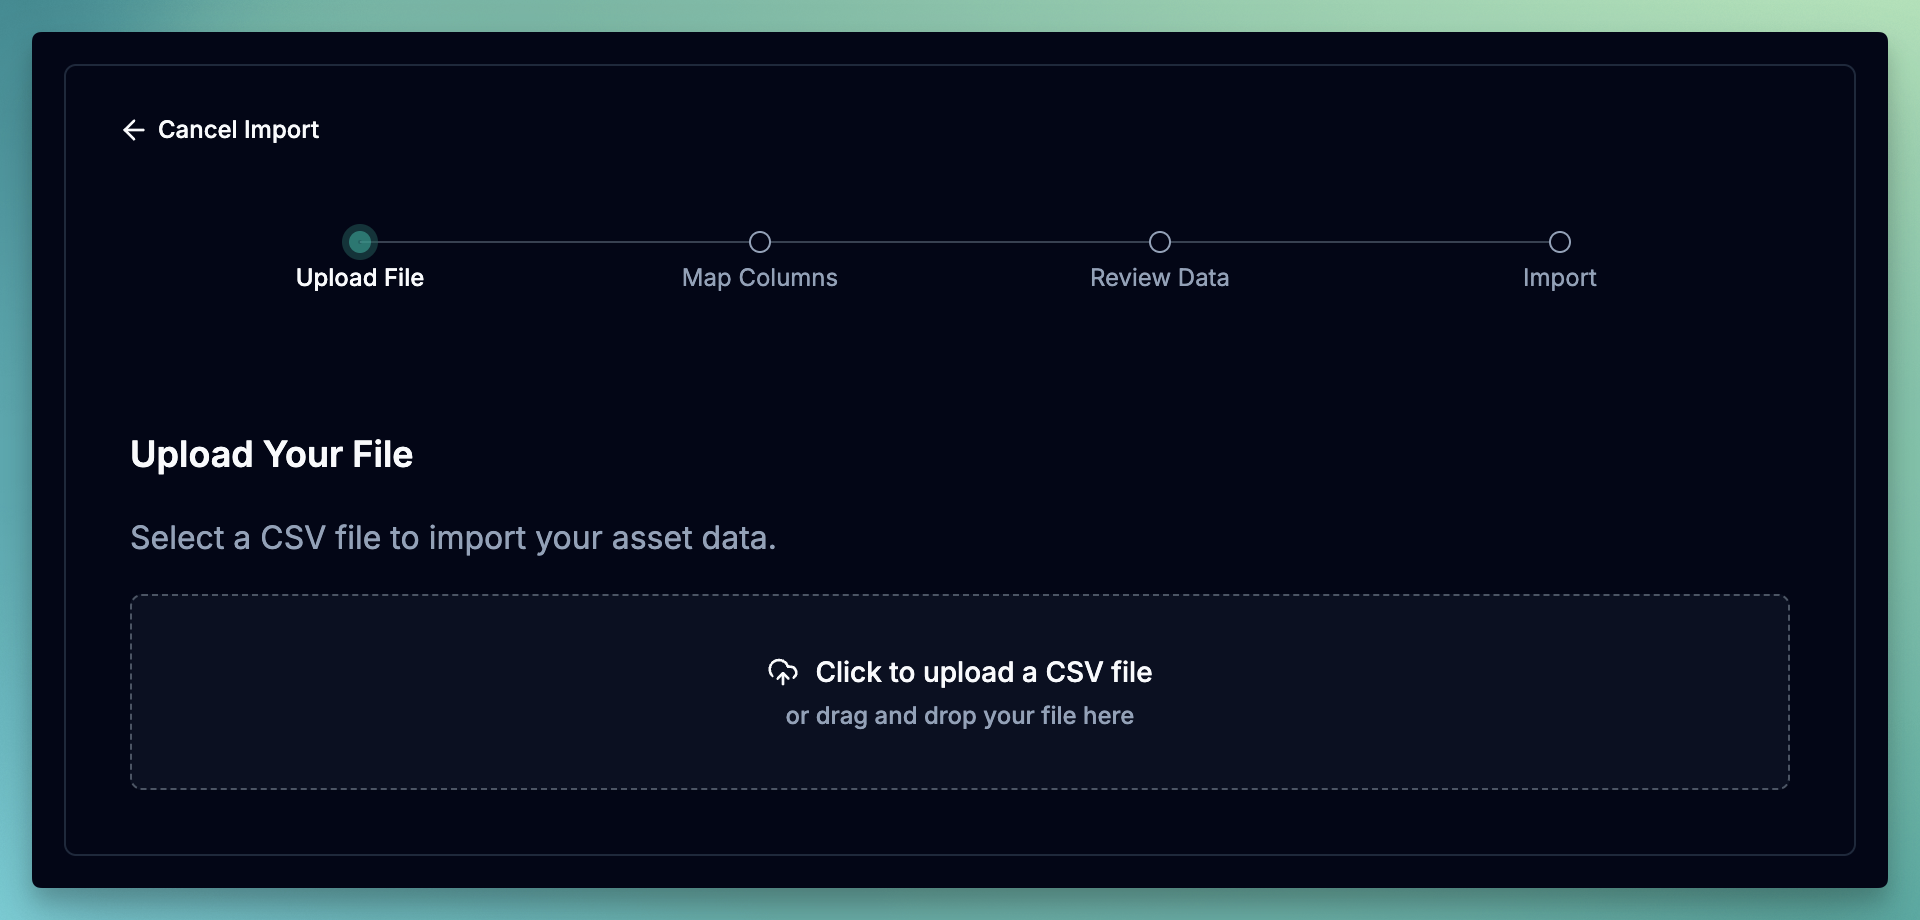
4
Map the file columns to the fields in June
June will try to map headers to the the fields automatically. You can also manually map the columns by selecting fields from the dropdown. Once done, click Review Data.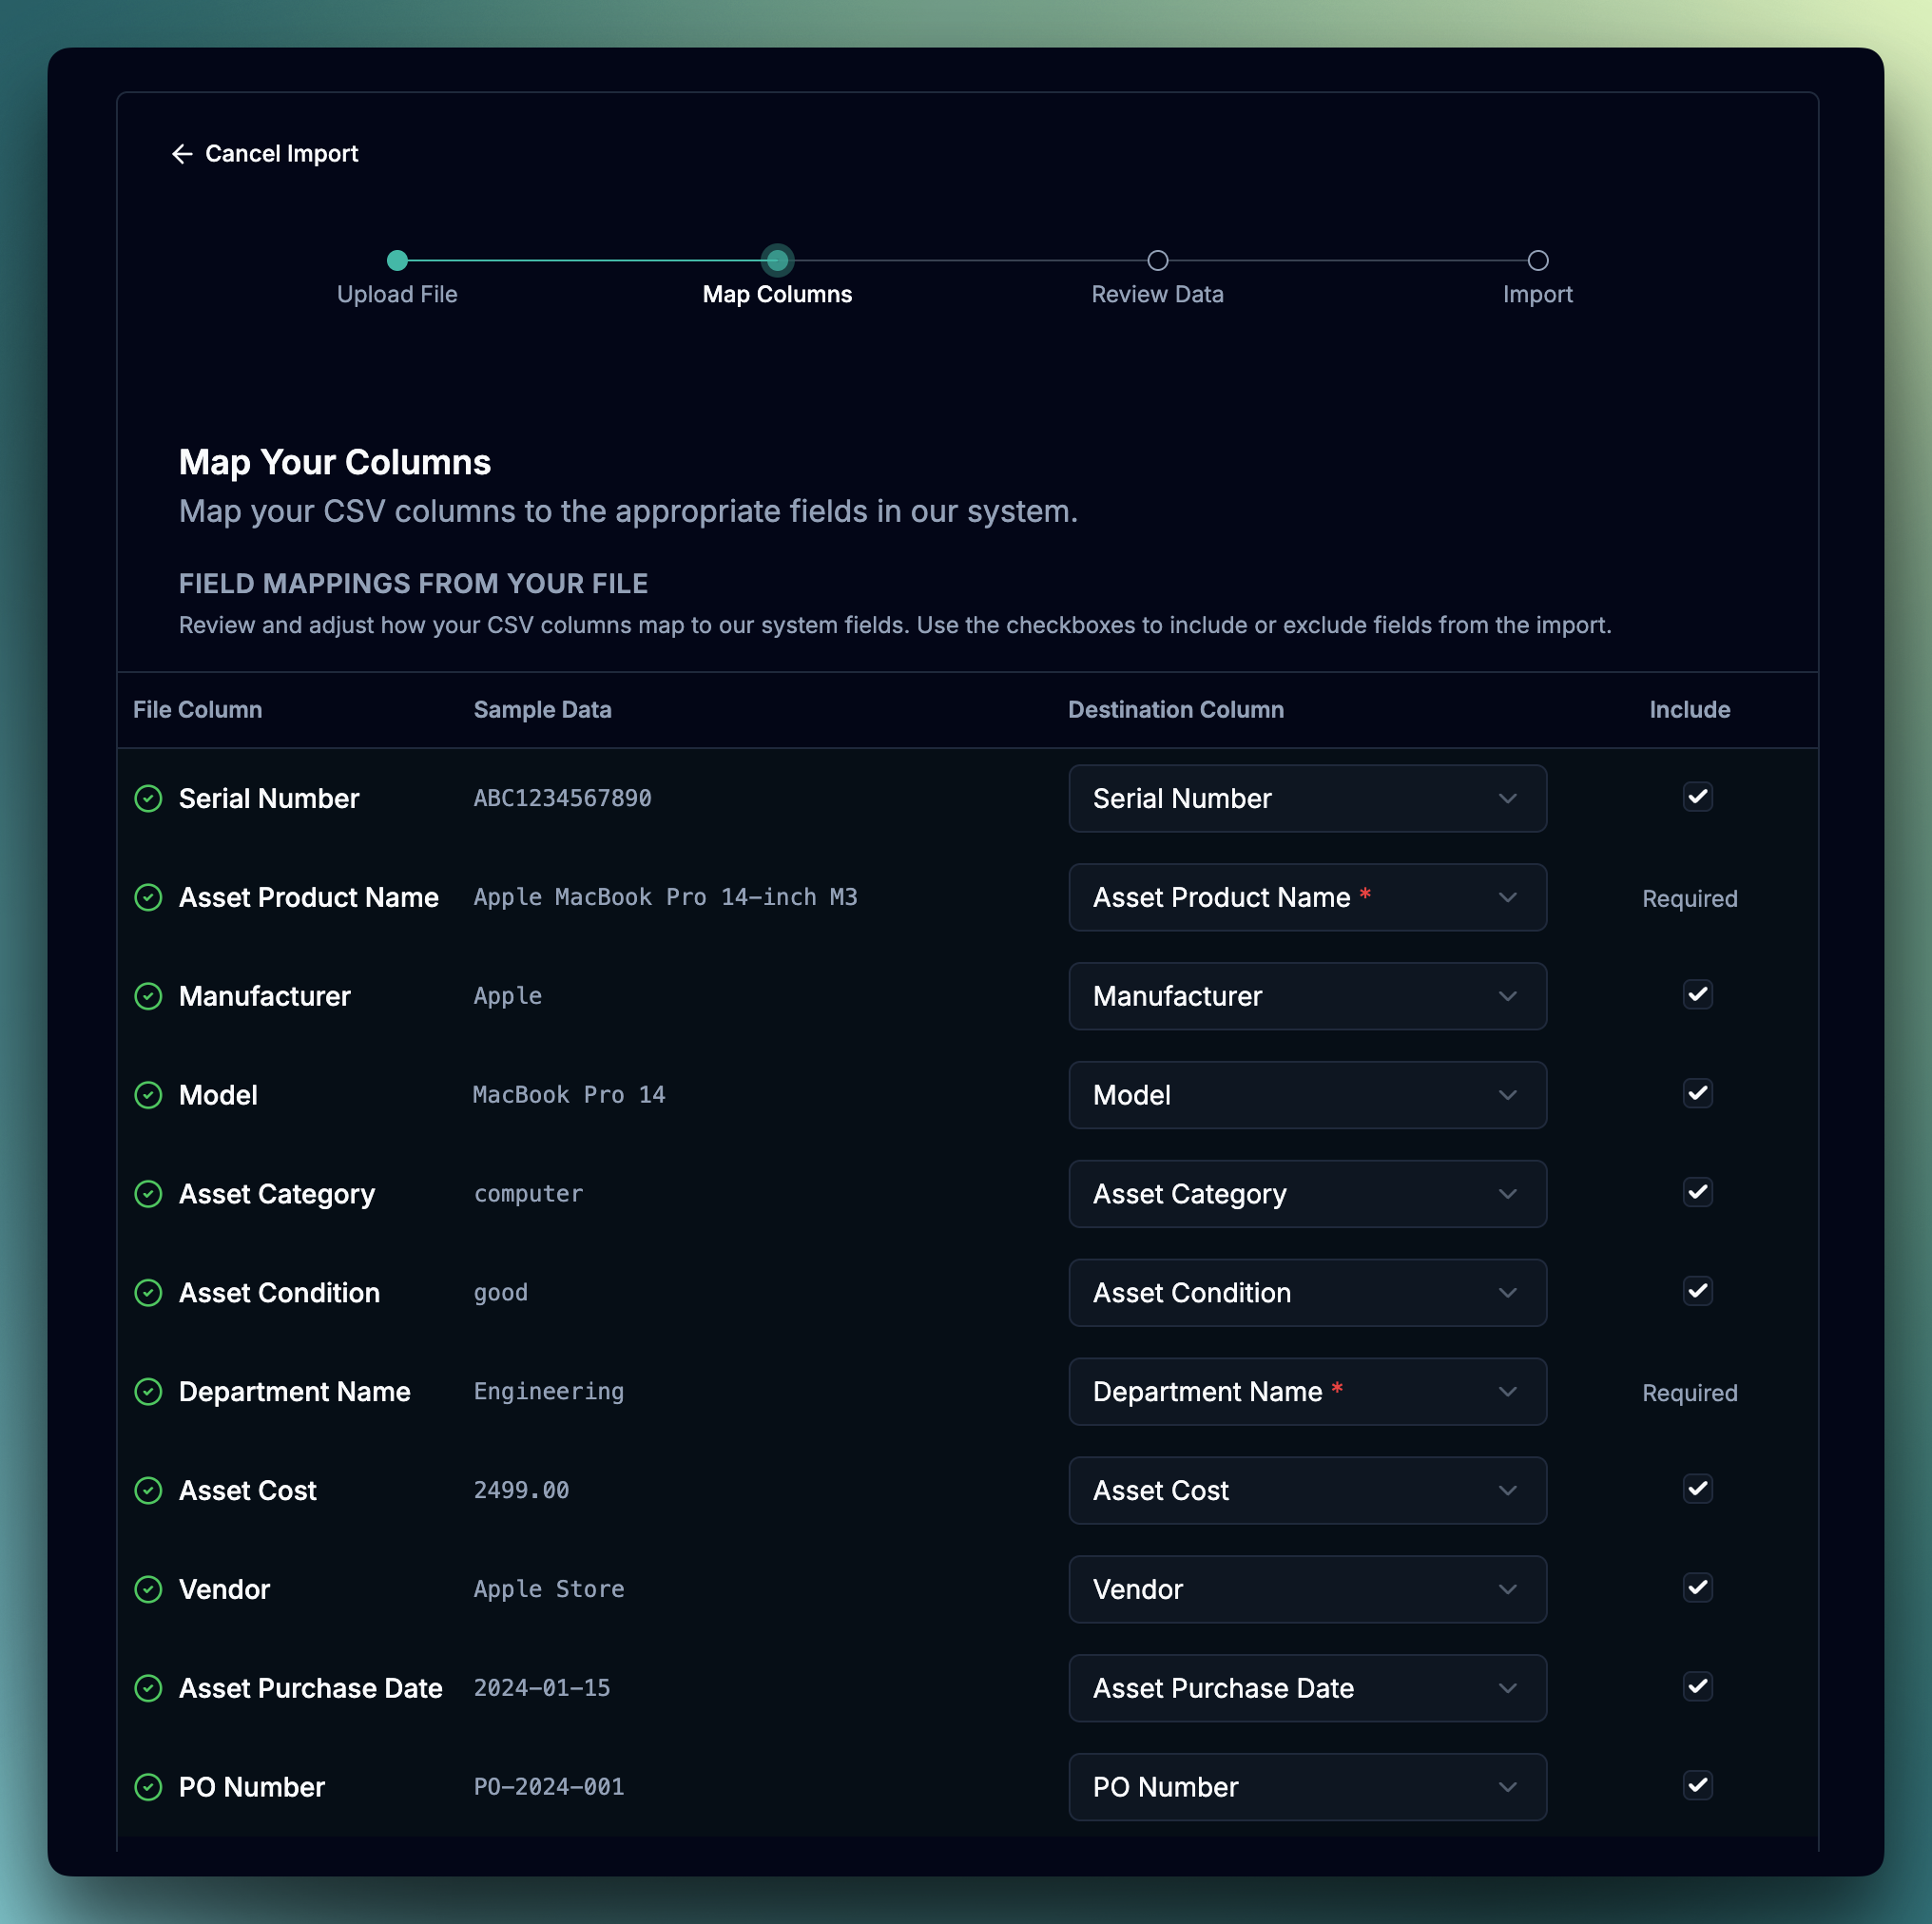
5
Review and validate the data
June will validate the data and show any errors or warnings. Click on Import to start the import process.
6
Confirm and finish
June will show you the result of the import and you can click on View Assets to go to the assets page.
Field Reference
Asset Fields
Asset Category Values:
Asset Condition Values:
Product Fields
Employee Fields
Use these fields to assign assets to employees during import.If an employee with the provided email doesn’t exist in June, they will be created automatically with the information provided.
Organization Fields
Purchase Details
How Asset Status is Determined
Asset status is automatically set based on assignment information:Minimum Required Fields
For a basic import, you only need two columns:Tips for Success
Before You Upload
1
Verify locations exist
Location names must match existing locations in June exactly. Create any new locations before importing.
2
Check email formats
Ensure all employee emails are valid and properly formatted.
3
Use consistent naming
Product names should be consistent across your CSV for proper grouping and reporting.
4
Remove duplicates
Each serial number should appear only once in your CSV file.
Formatting Guidelines
CSV Formatting Rules
- Save your file as CSV (Comma Separated Values)
- Use UTF-8 encoding to support special characters
- Dates should be in YYYY-MM-DD format (e.g.,
2024-01-15) - Currency values should be numbers only without symbols (e.g.,
2499.00not$2,499.00) - Leave cells empty for optional fields you don’t have data for
Troubleshooting
Location not found
Location not found
The location name in your CSV doesn’t match any existing location in June.Solution: Create the location in June before importing, or remove the location from your CSV.
Duplicate serial numbers
Duplicate serial numbers
The same serial number appears multiple times in your file.Solution: Remove duplicate rows from your CSV, keeping only one entry per serial number.
Invalid email format
Invalid email format
An employee email address is not in a valid format.Solution: Check for typos, extra spaces, or missing characters in email addresses.
Date format errors
Date format errors
Purchase dates are not in the expected format.Solution: Use
YYYY-MM-DD format for all dates (e.g., 2024-01-15).Need Help?
If you encounter any issues during the upload process, please contact support with:- Your CSV file (with any sensitive data removed)
- The specific error message you received
- Screenshots of the upload screen if applicable
Contact Support
Reach out to our team for assistance with asset uploads